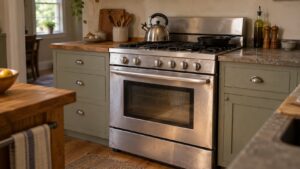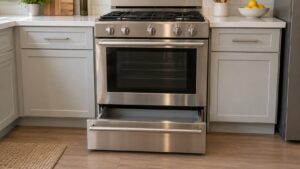
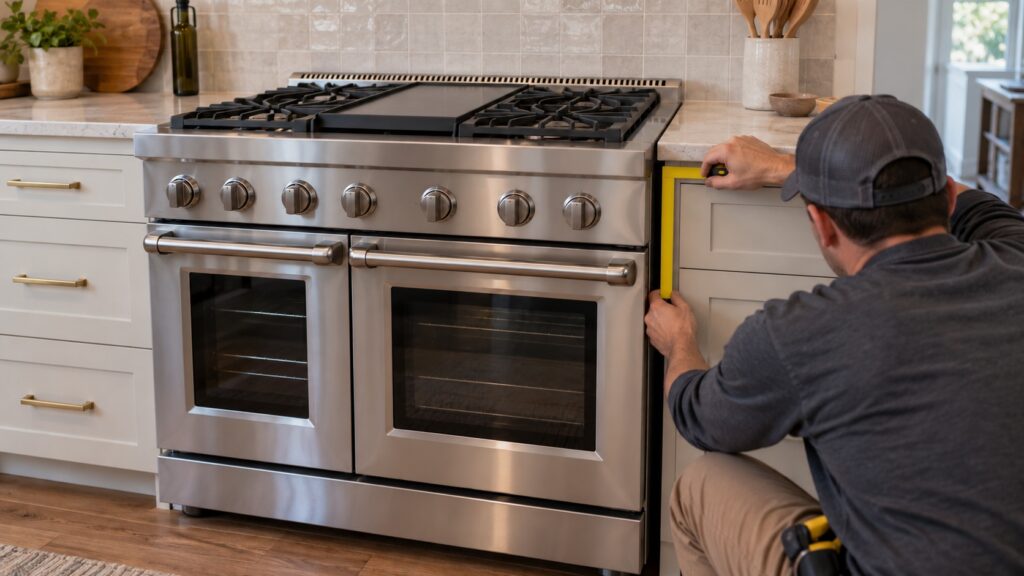
TL;DR: A Dacor range installation depends on four things being right before the range moves into place: a gas supply with a shutoff valve and the correct regulator setting, a dedicated 240-volt circuit, a level floor with room for the range and its anti-tip bracket, and ventilation overhead. The gas connection and leak test belong to a qualified installer. Skipping the anti-tip bracket is the most dangerous mistake.
A pro-style range is the heaviest, most expensive and most heavily connected appliance in a kitchen, and the one where installation mistakes cost the most. It needs gas and electricity, it must be secured so it cannot tip, and it must breathe, because a range sends heat, combustion products and grease into the room. This guide covers Dacor range installation for the freestanding ranges listed on this site, which include the legacy ER30D, ER36D and ER48D platforms and the later Professional models such as the DOP30T940DS, DOP36C86DLS and DOP48M96DL. It is written for owners and buyers; the gas work itself is for a licensed professional.
What does a Dacor range need before it arrives?
Settle the utilities and the space first, because every one of them is hard to change once the range is in. The table summarizes what to confirm.
Read the installation sheet for your exact model before you do anything. Dimensions, clearances to cabinets and walls, hood height and the gas and electrical specifications differ between the 30-inch, 36-inch and 48-inch ranges, and between the legacy and Professional lines. Our guide on which generation of Dacor you have helps you match the model to the right instructions.
How should the gas connection be made?
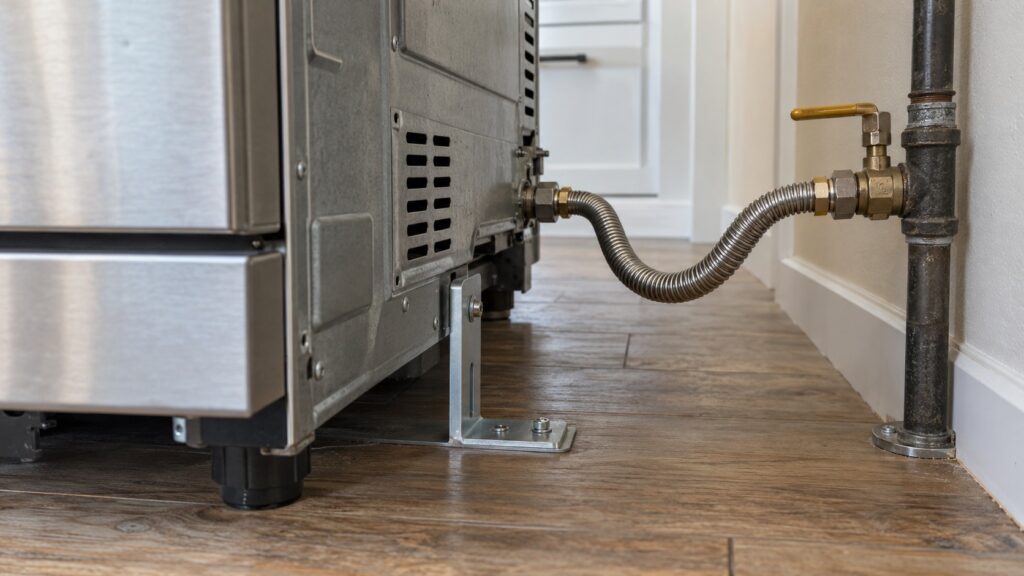
A range connects to the house gas supply through a rigid pipe or a listed flexible connector, a manual shutoff valve and, in many installations, a pressure regulator. The installer has to confirm that the supply pressure and the range’s fuel setting match: a range set for natural gas should not be supplied propane, and a conversion kit is the only way to change that. Every joint must be tested for leaks with a soap-and-water solution, never a flame. When the gas is turned on, each burner is lit and the flames are checked.
This is the part to leave to a qualified, licensed installer, in many places by law. Gas errors give no warning until something goes wrong. If you ever smell gas, with the burners off, leave the house, do not touch switches or phones inside, and call your gas utility from outside. Our symptom page on gas odor with the burners off describes what an owner should and should not do.
Why does the anti-tip bracket matter so much?
A freestanding range is top-heavy. If someone opens the oven door and puts weight on it, such as a child climbing up or a heavy pan sitting on the open door, the whole range can tip forward and cause serious injury. The anti-tip bracket exists to prevent that: it is screwed to the floor or wall behind the range, and one of the range’s rear feet slides into or under it when the range is pushed back. Installers often forget it, and owners who pull the range out for cleaning often forget to re-engage it.
After the range is in place, test it. With the oven door open, press down gently on the door and confirm that the range does not lift at the back. Then check the bracket is engaged whenever the range has been moved. Follow the installation sheet for the correct bracket position for your model, because the location differs between widths and between legacy and Professional ranges.
How do I level the range and set the clearances?
Level matters for cooking as much as for appearance. A range that tilts sends fat and water to one side of a pan and makes a cake bake unevenly. Use a level on the oven rack and on the cooktop, and turn the adjustable feet until the range is level front to back and side to side. Heavy ranges, especially the 48-inch ones, need two people and a solid floor; use the leveling feet, not shims that can slip.
Check the clearances to adjacent cabinets and walls, and to the surface above the range. Combustible surfaces near a hot cooktop are a fire risk, and the installation sheet gives the minimum distances for your model. The hood is part of this: it has to be mounted at the height and with the capture area the sheet and the hood instructions specify. Our guides to Dacor range hood installation, duct sizing and makeup air and rangetop installation and ventilation clearance go into the detail.
What should I check on the first day?
Run through a short commissioning list. Light each burner and look at the flame: it should be steady and mostly blue, and it should light promptly. A delayed ignition that ends in a bang, as described on our delayed ignition page, needs attention before you use the range. Run the oven empty at a moderate temperature and confirm that it heats, that the fan runs and that the door seals. Check the display and the clock. Watch for a smell of gas, a burning smell beyond the first heat-up of new insulation, or any code on the display.
A new oven will often smell the first time it is heated, as protective oils burn off, so ventilate the room. If you meet a code on a legacy ER-series range, the ER30D, ER36D and ER48D platform codes explain the family. If the oven will not preheat, read Dacor range won’t preheat. For the long run, burner and igniter care is in range maintenance.
Should I buy or install a dual-fuel range?
Dual-fuel means a gas cooktop and an electric oven, and it needs both utilities, which makes the installation more demanding than an all-gas or all-electric range. The choice is covered in the Dacor dual-fuel range buying guide, and the cooking side in how dual-fuel cooking works. If something is wrong after installation, Dacor range repair covers what we check, and you can schedule a visit.