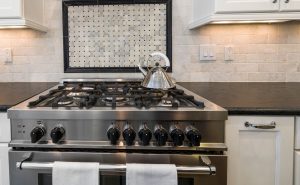
Dacor SimmerSear burners are brass sealed burners built to do two jobs that usually need two different appliances: hold a genuine low simmer without cycling, and deliver enough heat to sear properly. Getting both out of them is partly technique and partly knowing what the hardware wants. These tips come from what we see on service calls — most of which turn out to be habits rather than faults.
Getting a true simmer
A low simmer is harder to build into a gas burner than high heat, and it is the reason a burner like this exists. Three things decide whether you get it:
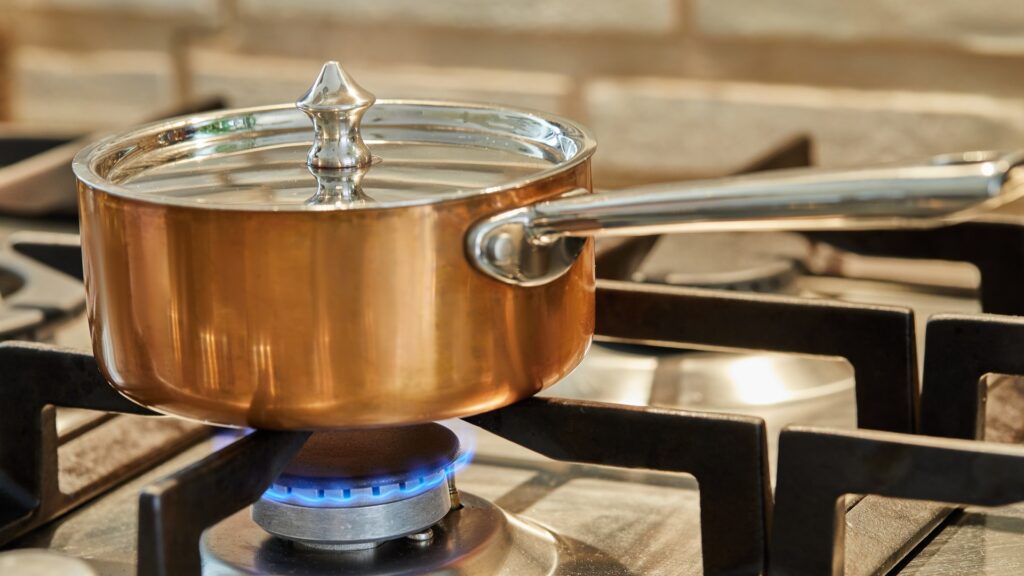
The pan. A heavy-based pan evens out the flame; a thin one transmits every fluctuation straight to the food, and a sauce scorches in the ring where the flame touches. If a sauce catches on the lowest setting, try the same sauce in a heavier pan before concluding the burner runs hot.
The lid. A lid holds heat and lets you use a lower flame for the same result. Most scorching happens because the flame was raised to compensate for an open pan losing heat.
The setting. Turn to the lowest stable setting and leave it. Nudging a knob up and down through a long simmer produces exactly the uneven cooking people then blame on the appliance.
If the flame will not stay lit at the lowest setting, that is a real fault and worth attention — the site’s owner tips before a repair call page covers what to note first.
Searing properly
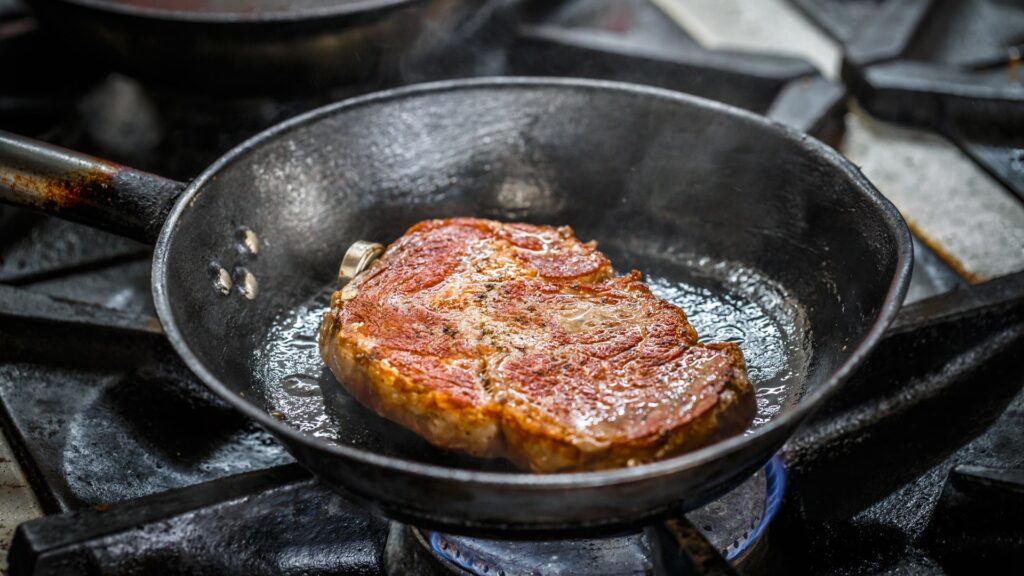
Searing wants a hot, dry pan and a burner running high — but not necessarily the highest burner on the surface. What matters is the pan reaching and holding temperature when cold food lands on it.
- Preheat the pan empty for two to three minutes on medium-high before adding anything. Oil added to a cold pan and heated with it degrades before the pan is ready.
- Dry the food. Surface moisture boils, and while it boils nothing browns. This matters more than the burner does.
- Do not crowd. Food packed into a pan steams. Two batches sear; one crowded batch does not, at any heat.
- Match the pan to the burner, so the flame stays under the base. Flame wrapping up the sides heats handles and the cooktop rather than the food.
Cast iron and heavy carbon steel hold heat through the shock of cold food arriving. A light pan drops temperature immediately and the searing becomes steaming regardless of the burner.
Why the burner clicks, and when to worry
These burners include automatic reignition — if a flame goes out, the burner relights itself rather than releasing unburned gas. It is a safety feature and it is why you occasionally hear clicking while a burner is already lit.
Looking after brass
Brass caps change color with heat. They darken, they take on bronze and straw tones around the ports, and this is permanent and expected on a burner that works properly. It is not tarnish to be removed.
Clean them the way you would any burner cap: hot soapy water, a nylon brush, dried completely and refitted flat. What ruins them is everything else — abrasive pads, metal polish, acidic cleaners and oven cleaner all attack the surface and leave a patchy finish that then looks genuinely dirty. Our page on cooktop tips covers the different care a glass surface needs, and it is worth not mixing the two routines up in a kitchen that has both.
One habit is worth more than any cleaner: wipe the surface while it is warm rather than hot. Spills lift in seconds at that point and need a soak once they have cooked on.
Using the whole surface deliberately
A professional-style surface has burners of different outputs, and treating them as interchangeable wastes the design. Work out which burner on your cooktop holds the lowest stable flame and which delivers the most heat, then cook accordingly: sauces and reductions on the first, a stockpot or a searing pan on the second.
Two practical consequences follow. A tall stockpot belongs on a rear burner with the hood running, because its plume rises where the hood can capture it and it is out of the way of everything else. And a long, slow braise belongs on the burner you trust at low heat, even if that burner is not the most convenient one to reach — an hour of unattended cooking on a flame that cycles is how a braise catches.
It is also worth knowing your knobs by feel. On a burner that holds a genuine simmer, the useful low range occupies a small part of the knob’s travel, and finding it by looking at a scale is less reliable than finding it once by eye and remembering where it sits.
Small things that improve every burner
- Refit caps flat. Most flame complaints start with a cap sitting rotated or slightly proud.
- Use the rear burners for anything that smokes, so the hood can actually capture it.
- Check ports monthly against the light and clear them with a soft brush, never with a metal pick.
- Let cast iron grates dry fully after washing, or bare spots rust within a day.
When to call
Call when a burner will not hold a low flame, when flames are yellow or uneven with clean and correctly seated hardware, when clicking continues with everything dry, when a burner will not light at all, or when a burner goes out as soon as the knob is released.
We are an independent repair company and not a factory service arm. Pricing starts from a diagnostic visit and we confirm the estimate before any work begins. Dacor range repair covers burners, igniters, valves, elements and controls, and you can schedule a visit online.